Showing posts with label scrapbook. Show all posts

Sunday, 4 November 2018

Snow Day | Scrapbook Layout

Sarah here with a scrapbook layout using the new Silent Night Tree Ribbon.

Now it's November I am very much ready to get the festive crafty supplies out. 
I used a pale kraft background for this layout, it makes the white paper paste snow flakes really pop. I added a few splashes of white acrylic paint on top too.
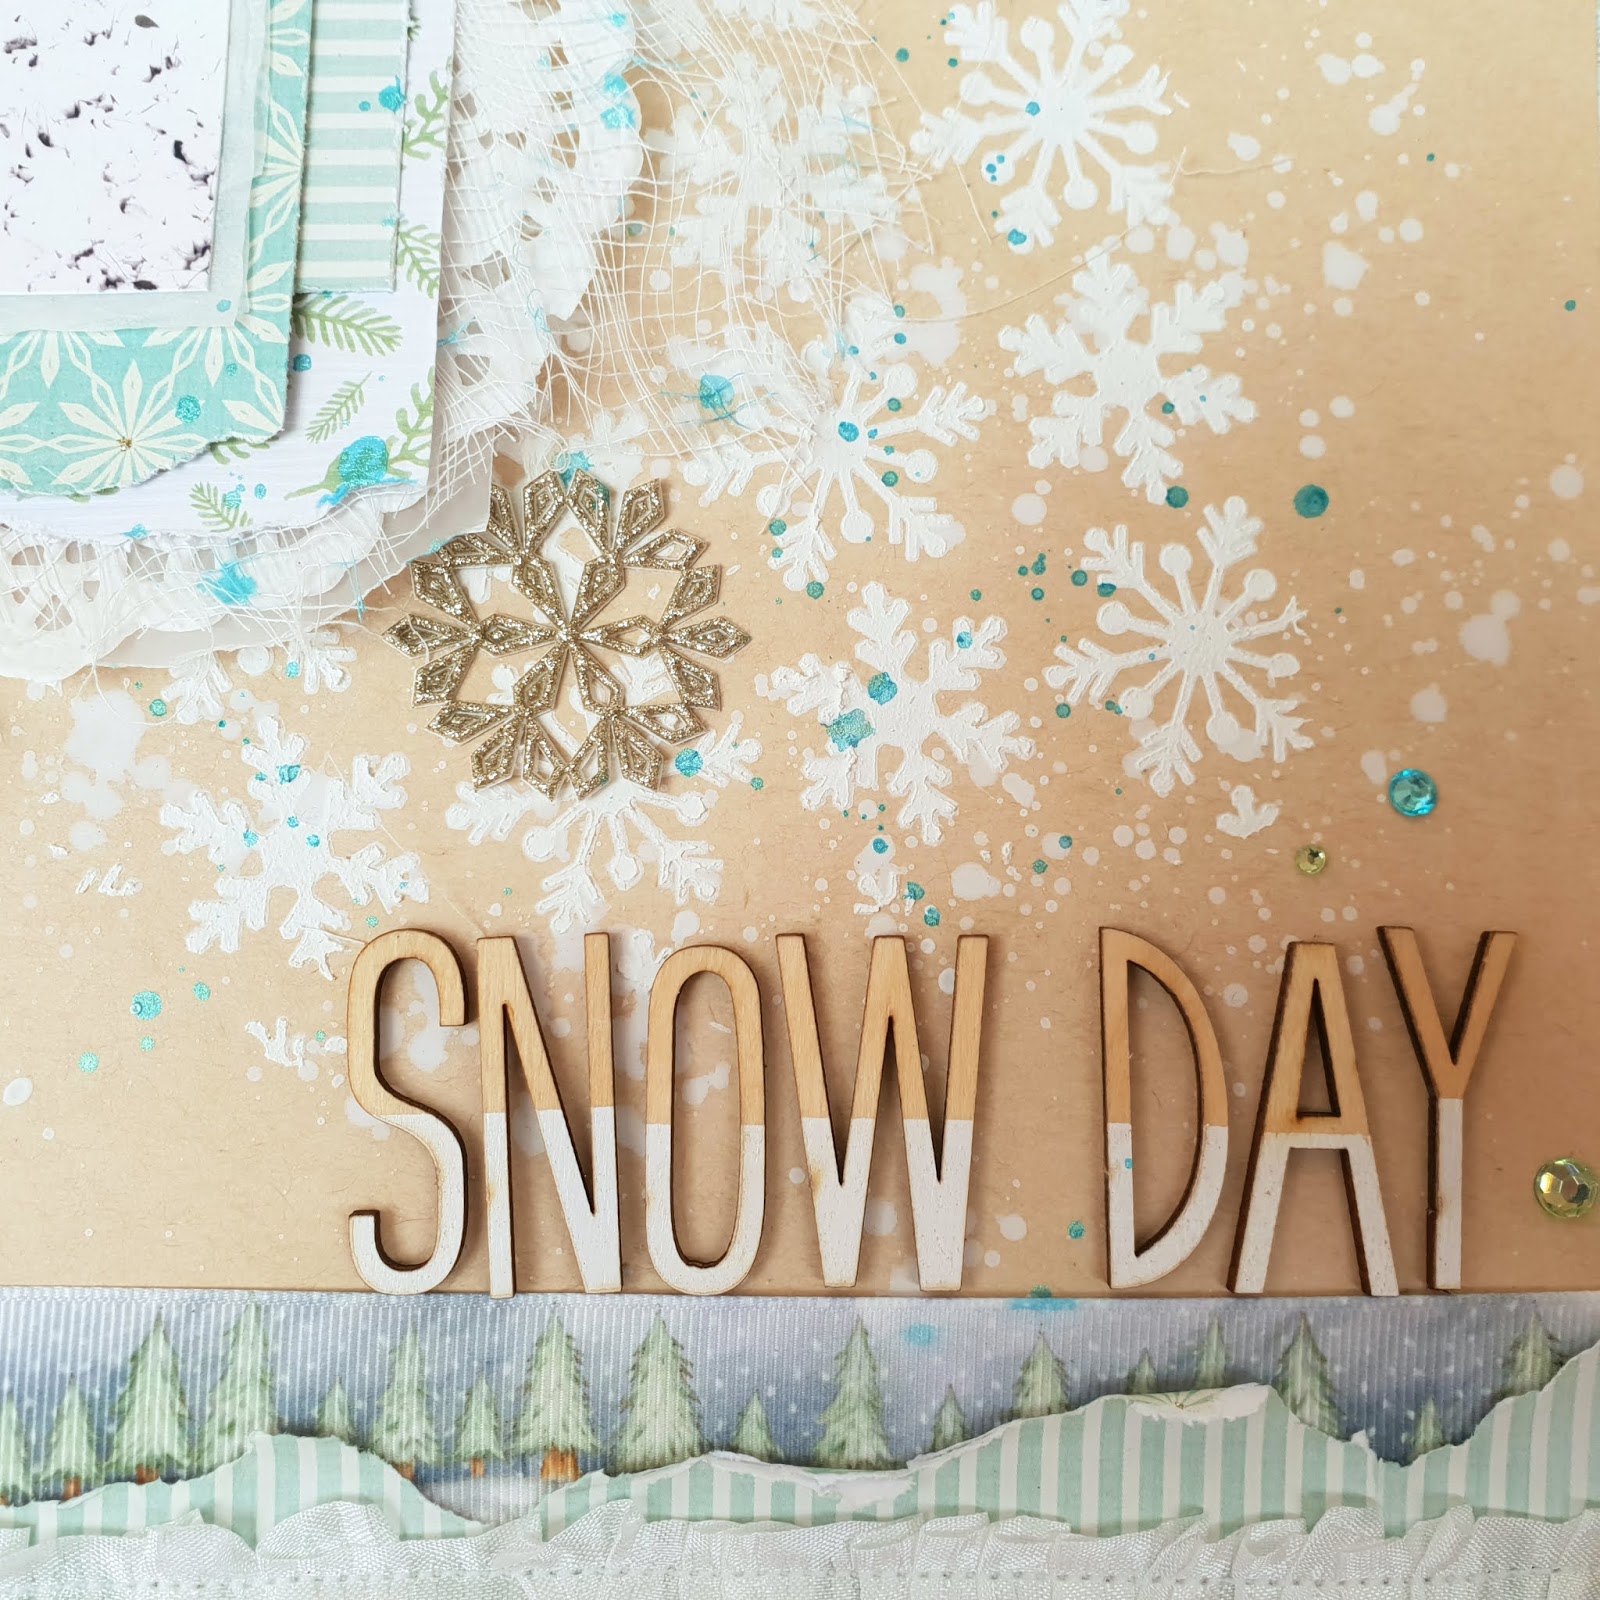
My photo was layered on top of distressed patterned papers, gauze/cheese cloth and a white doily to add lots of texture.


I added the Tree Ribbon to the bottom of my page along with distressed paper and ruffled Seam Binding and added a little piece to the top of my photo with a snowflake on top.


A few gems, snowflakes and little trees framed my photo cluster nicely.


A splash of Turquoise Color Shine and my layout was done.


You can check out the process video here.

Thanks for joining me, have a Happy Crafty Day :)


Sunday, 18 February 2018

Silk Leaves on a Scrapbook Layout


Hi Guys!  Laura here today with a scrapbook layout.

This project started with one idea, circled through a couple more ideas and ended up being one of my favourite creations so far this year.


I started with some heart confetti cut on my Silhouette Cameo and Rose Gold Red Vibez from Shimmerz.  I was inspired by my friend Mary to have a good at a bokeh-type background.  You can see how in the video posted below.


That was just playing with no plan in place for the finished piece.  I decided to go the ribbon route and make it a DT piece for Crafty Ribbons.  I picked a few ribbons and dyed them with the same spray.


I then decided it needed some green, and what better than some silk leaves...


I also added silk twists to the centre of my vellum flower.  I'd have used french knots if I knew how to do them ;)


I used the following ribbons from Crafty Ribbons:  Organza Swiss Dots; Seam Binding; Silk Ribbons.


Here is the process:


Thanks for stopping by!
Laura

Monday, 4 September 2017

Scrapping with ribbon...

Hi folks, Laura here today.  Since I made this layout I have had half a stamped and painted image sat on my desk.  As you know, I don't like to throw anything away, so I designed this layout around it!


My only other criteria was 'use lots of ribbon!' and I managed to sneak some lace and sequins in too - life is hard!!


You an get your hands on the ribbons here: hearts and dots and you can find the teal ribbon and lilac lace on the Crafty Ribbons show stand - yes it is nearly show time again.


Thanks for looking!

Saturday, 12 August 2017

Sewn Silk Lilacs

Hi guys, Laura here today.

There seems to be a real trend for ribbon embroidered flowers at the moment.  I have no experience in this but thouoght I'd try to combine it with my love of scrapbooking.  In hindsight I should have learnt the art of ribbon embroidery first before attempting to do it on cardstock and over a photo.  Hindsight is a wonderful thing!


Any how it turned out OK in the end.  The photo is of blooms way past their best so I added some brown watercolour to my silk ribbon flowers to make it look like they had turned too.


You can find some ribbon embroidery kits (with good clear instructions) here and a huge stash of silk ribbons here.  I have used pieces from a scrap bag which is a great way to get started.


Despite the trickyness and frustration it is safe to say I will be trying this again.  I'll be stocking up on silk ribbon too, as they are lovely to work with!


Wednesday, 28 June 2017

Wonderful You | Scrapbook page

Hi there, Laura here today with a scrapbook page.


I started out wanting to use my new Distress Oxide ink pad.  I pulled out a stamp and some watercolour paper and had a good play!


I liked the results so I gathered some supplies to match the background - a few papers, some stickers and sequins, bits and bobs from the June Lottie Loves Paper kit and ribbon.


Nothing made it on to the layout if it wasn't white or mint.


I sat my title on a ruffle of white organza ribbon - it adds such fab texture and height to the page.


I also added some Swiss Dot Grosgrain and a little heart tab made from the exclusive Wedding Owls ribbon.

Thanks for stopping by!

Sunday, 31 July 2016

A Layout with Laura


Hi, Laura here!  I have been procrastinating tidying my desk for a few weeks.  I took it one step further by deciding to make a layout with items from my desktop only.  I shove stuff on my desk all the time - packaging, mail shots with nice colours, ephemera/sweets wrappers, extra cameo cuts etc.


I have a few bits of lace near my craft mat all the time - today it was some cotton Morlaix in white and some viscose Volcan in mint.  I also pulled a few offcuts of sheer Swiss dots ribbon.


I added some flicks of ink to the background and I'm happy with how it has turned out!


Thanks for stopping by!

Sunday, 8 May 2016

Celebrating National Scrapbook Day with Ribbon!


Hi Guys, Laura here today.  Yesterday was National Scrapbook Day.  Lots of celebrations, challenges and inspiration started on Friday and continue through today, and some on to the end of the month.  I, for one, am keen to see more ribbon in scrapbooking.


I made this layout for a few challenges - one to use no patterned paper, one to include poetry and hearts, and the other to use ribbon.  I picked out the exclusive multicoloured Organza Swiss Dot ribbons and sieved through my button stash for some complimentary buttons.  I made some little rosettes/prize ribbons by folding small pieces of ribbon and sewing a button on top.


You can find the Swiss Dot ribbons here and a huge range of buttons here.

Tuesday, 24 November 2015

mr and mrs


Hi Guys, Laura here today.  I can't make a mini album without including ribbon!  This time I have used Swiss Dots and Grosgrain 3mm in colours to match the 'Wish List' kit from like for ever.


I have made the mini album to celebrate a friends wedding, but the photos were not brilliant quality.  This gave me the idea to go small, which reminded me I had a little tin saved to upcycle...


I made a concertina strip to fit the little tin.  I adhered a piece of ribbon to the bottom edge of the tin to use as a tab - a little pull and the album pops out of the tin.


Then to finish it all off nicely I tied the tin with 3mm ribbon and added a handmade charm.  The charm includes glass beads hand made by the bride for that extra personal touch.

You can see more here and here!

Laura