Showing posts with label scrapbook layout. Show all posts

Tuesday, 5 November 2019

Tis The Season

Sarah here with my project for this weeks Winter Fun ribbon release.

 I really enjoyed making this layout of my boy last Christmas opening his presents. The ribbons matched perfectly with the gift bag in the corner of the photo and I chose papers and embellishments that worked around that too.


To make the ribbon stand out I used black cardstock and added white paper paste with splashes of blue and green Distress Oxides for a touch of colour.


 I layered lots of papers under my photo and added the ribbon amongst the layers. I used pops of red and blue to match in with the photo and ribbon.


I found an ephemera pack from my stash with a cute penguin and added a few more festive pieces as well around the photo cluster. Using the vertical ribbon I added a embellishment to the top of my page.


As a finishing touch I added some red sequins dotted around the page and some word stickers around the photo.
You can watch how I created this layout in the video linked here.


Thanks for joining me and have a Happy Crafty Day :)

Sarah
ManxyCatCrafts

Tuesday, 1 October 2019

Sparkle | Scrapbook Page for Unicorn week

Sarah here this morning with a layout and process video especially for the launch of the beautiful new Unicorn Christmas ribbon collection.

My layout is not Christmassy at all but with some clever snipping you can use the ribbons anytime of year.  I created my background to match the ribbon using pink and teal sprays through a stencil.  To contrast this I added some navy star paper to the other half of the page with the vertical ribbon as a border. 


Using colours that matched my background I created a cluster behind my photo of lots of patterned papers with foam inbetween for dimension.  The embellishments tucked in easily between the layers and my title fitted nicely along the bottom of my photo.


For more sparkle and to highlight the pink I used lots of sequins dotted around the layout and added more ribbon tucked beneath the paper layers.


Finally I added some splashes of ink and my layout was complete. 
You can check out the process over on my YouTube channel linked below.


Don't forget to head over to the Crafty Ribbon Facebook Page to enter the competition to win some lovely goodies!

Have a Happy Crafty Day

Sarah
ManxyCatCrafts

Wednesday, 18 September 2019

Happy Day | Scrapbook Layout

Sarah here today with a scrapbook layout featuring the Colour your Days - Maths ribbon.

I knew I wanted to save this ribbon for my boys first day at school, it works perfectly as the rainbow colour would work with any uniform colour combo. I created a montage of photos as he wouldn't stand still and smile nicely for one good shot!


The colour scheme I chose was black red and white with a hint of yellow to match the school badge. I used black card stock and red acrylic paint through a stencil and extra splashed around the stencilled numbers.

Under my photo I layered up lots of patterned papers with foam in between to add a little height. I distressed the edges for more texture and cut out a calendar and typewriter to use as embellishments.


Amongst the papers I stapled in the ribbon and across the top of the page to really show it off in detail. I added stickers and sequins around the photo cluster and calendar and circled the date and wrote the year in red pen. To brighten the background and tie in the ribbon I added white ink splashes over the top.

You can check out the process video of how I created the layout here.

Thanks for joining me and have a Happy Crafty Day :)

Sarah
ManxyCatCrafts

Saturday, 10 August 2019

Art From The Heart | Scrapbook Layout


Sarah here today with a scrapbook layout using the Colour your Days Pencil Ribbon.

I created a mixed media background to go with the rainbow ribbon with lots of acrylic paint and a stencil. I created 3 and used the reverse print on white for this layout. (You can see all 3 in my Video)


My picture is of my little boy using my art supplies (under close supervision!!) to make cards. I used lots of torn patterned papers and tissue to create the textured layers and foam in between the layers for added height.


I added some ribbon down one side of the page and then balanced it with a piece tucked in the photo cluster.


For a finishing touch I added black ink splatters and stars that tied my title in with the rest of the page.


You can watch the full process over on my YouTube channel here.


Thanks for joining me and have a Happy Crafty Day :)

Sarah
ManxyCatCrafts


Saturday, 6 July 2019

Betty's Farm | Scrapbook Layout

Sarah here today with a Scrapbook layout using the cute Chicken ribbon.

For my background I blended distress oxides over clear embossed feathers. I added splashes of water and ink for more texture.

I ripped up patterned papers and layered them behind my photo with layers of foam to add a little dimension.

To make my ribbon stand out I added it right across my layout and topped it with a bow from the same design.

Finally I added ephemera and die cut feathers all around my paper cluster and a few Resin flowers in yellow and orange.

You can watch the layout come together in detail over on my YouTube channel here.


Thanks for joining me and have a happy crafty day :)

Sarah
ManxyCatCrafts

Sunday, 2 June 2019

Craft Inspector | Scrapbook Layout

Sarah here today with a scrapbook layout featuring the Colour your Days Pencil Ribbon.

I had a cute picture of my kitten exploring one of my boxes of craft supplies and thought the ribbon would work so well for it.


I used some rainbow patterned paper for my background to match my ribbon and added a little dimension with texture paste and blue paint.


For my paper cluster I added layers of tissue, patterned paper and stickers. I twisted together some aqua and pink Ric Rac and stapled it amongst the layers for extra texture and interest.


I added some turquoise gems and white splashes of paint around the edge of my layout and tucked some pencil ribbon behind the top of the photo cluster.


Finally I added some extra ribbon below my title to balance with the piece above the photo.


Thanks for joining me and have a happy crafty day!!

Sarah
ManxyCatCrafts


Wednesday, 6 March 2019

Find the Beauty | Scrapbook Layout | Fiskars Collaboration


Sarah here today with a layout for the Fiskars collaboration.

For the background of my layout I wanted to add a flurry of butterflies so I fussy cut some from patterned paper and layered them on top of glittered texture paste.


My photo is of my little boy playing in the garden so I added wood patterned paper as well as lots of flowers and the stones ribbon in a cluster around the photo.


I layered some grass ribbon and lace along the bottom of the page with the photo overlapping slightly on an angle to follow the eye line up the page.


In between my butterflies I added punched mini flowers and Nuvo drops to add a pop of colour.

I finished with some splashes of ink spray and a rose gold embossed title trimmed from black cardstock.


You can check out my process video here and enter the competitions to win Fiskars and Crafty Ribbon goodies over in the facebook groups.


Have a Happy Crafty Day!!

Sarah
ManxyCatCrafts

Wednesday, 13 February 2019

Good Vibes | Scrapbook layout

Sarah her today with a Nautical themed scrapbook layout using the Ombre and Seam Binding ribbons.

My background was made using Distress Oxides to create a watery backdrop. I then added Seam Binding ribbons to create waves and secured them with some machine stitching.


I added layers of paper, gauze and hessian to create lots of texture behind my photo as well as some net for a nautical feel.


I added an ombre effect title and bows as well as some small flowers and ephemera pieces.


You can check out my process video here for more details.


Thanks for joining me and have a happy crafty day :)

Sarah

ManxyCatCrafts


Tuesday, 8 January 2019

Brrr! Brrr! | Scrapbook Layout

Sarah here today with a layout using the new Silent Night ribbons. 

First I chose papers to match the ribbon and created a mixed media background using the featured colours.


I layered papers behind my snowy scene photo to match in with the feature ribbon and paper. A touch of gold vellum worked well to match the title and embellishments.


Some Ric rac ribbon in the three focal colours added some extra texture and covered the join between the background and patterned paper.


As always I finshed the layout with a splash of ink. this time using gold Color Shine to tie it altogether.


You can watch the process here on my YouTube Channel.

Thanks for joining me and have a Happy Crafty Day :)

Sarah
ManxyCatCrafts


Tuesday, 4 December 2018

Merry and Bright | Scrapbook Layout

Sarah here today with a scrapbook layout using the  Christmas Camper Vans ribbon.

I chose the Crate Paper Falala collection as it worked so well with the ribbon. I layered lots of the 6x6 papers behind my photo to create a cluster.


For my background I used black cardstock to help the ribbon pop of the page and gold texture paste for added interest.

I added embellishment clusters around my photo and splashes of gold Color Shine for a finishing touch.


You can check out the process over on my YouTube channel here.


Thanks for joining me and have a Happy Crafty Day :)

Sarah
ManxyCatCrafts

Sunday, 4 November 2018

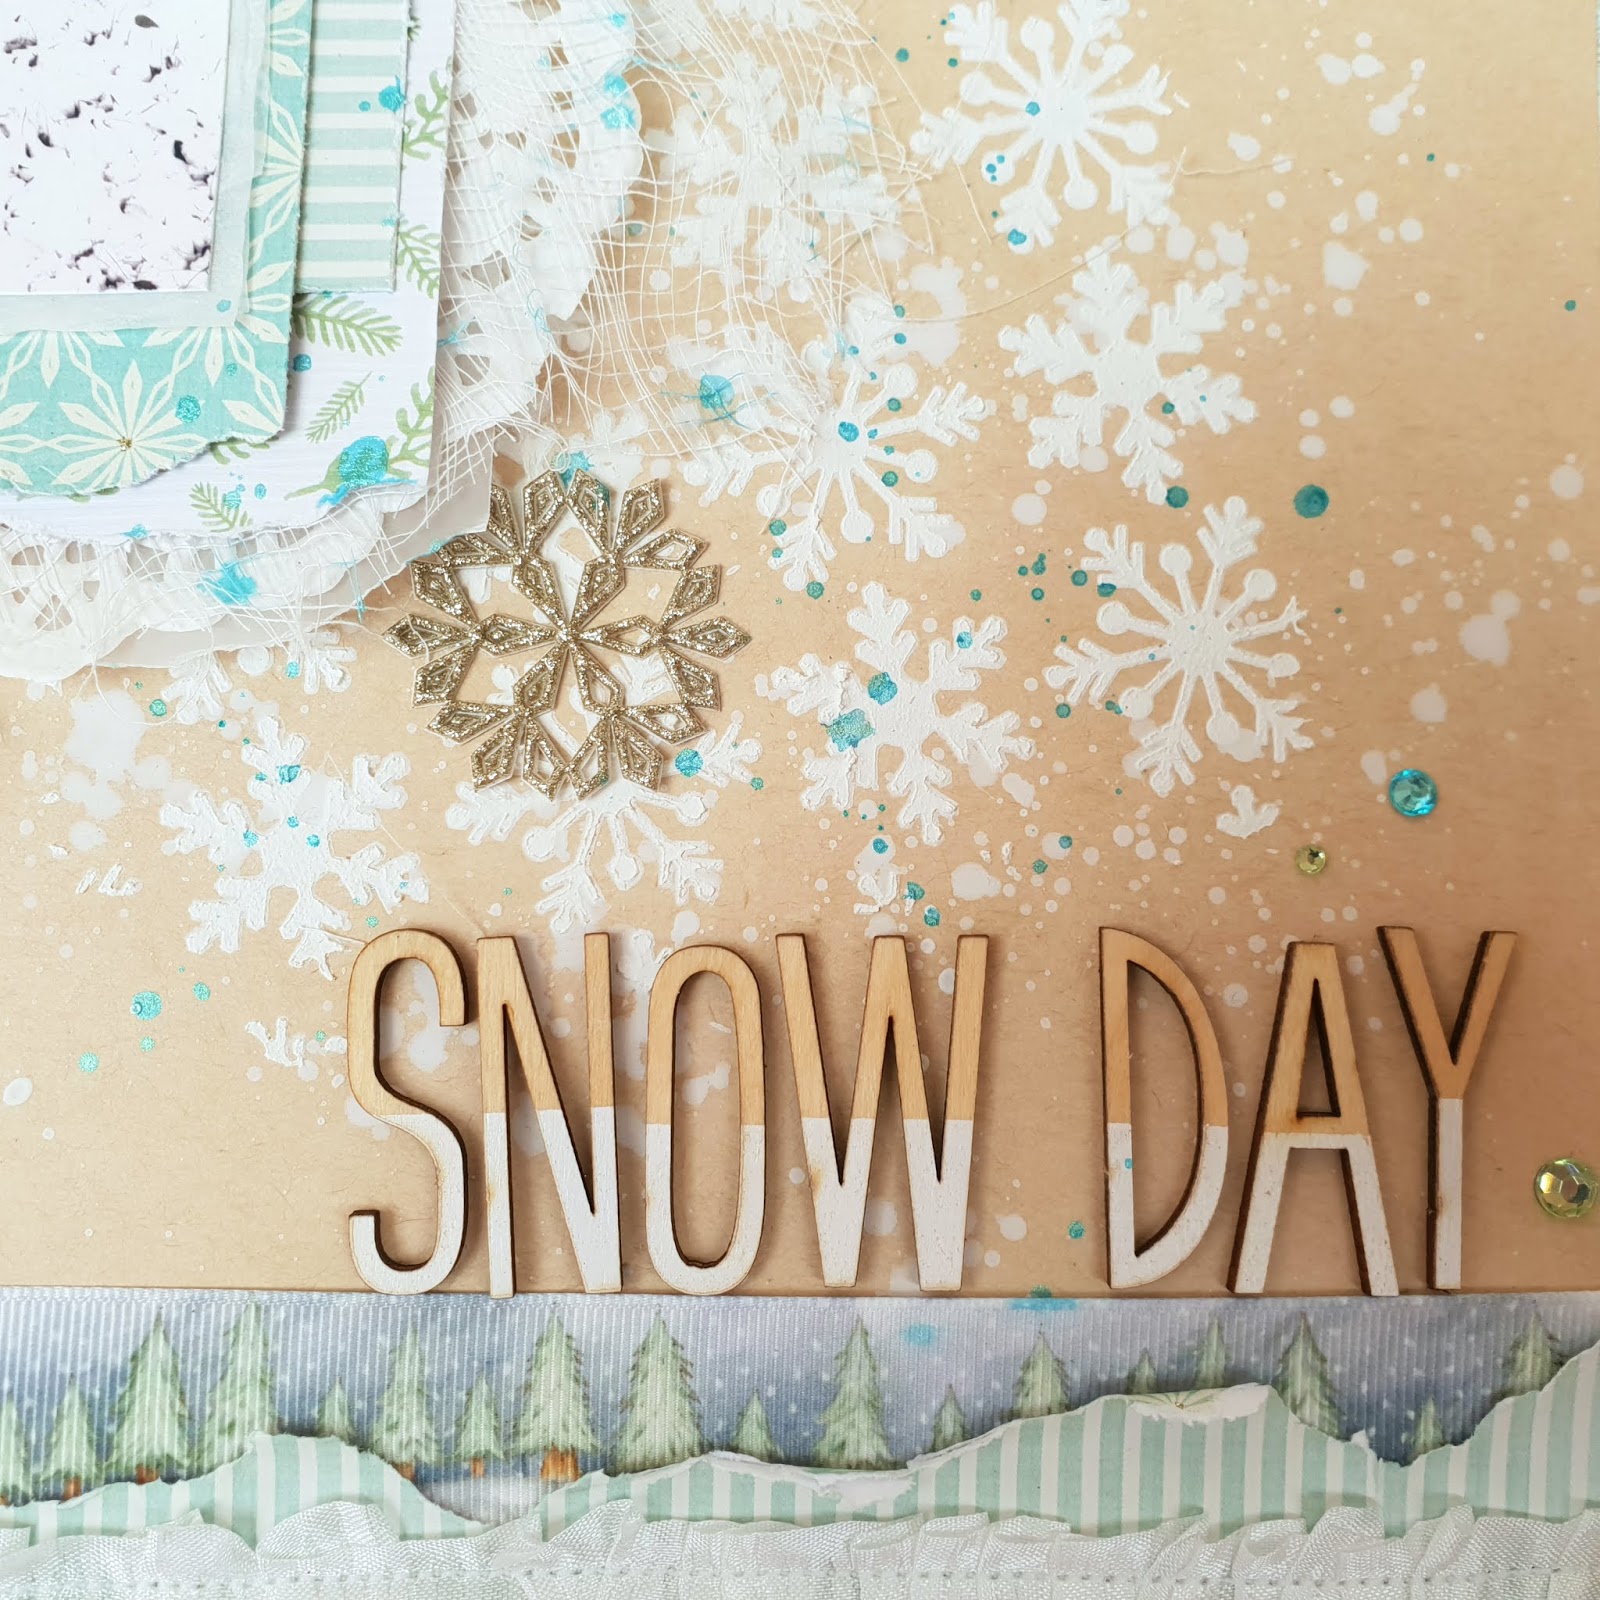
Snow Day | Scrapbook Layout

Sarah here with a scrapbook layout using the new Silent Night Tree Ribbon.

Now it's November I am very much ready to get the festive crafty supplies out. 
I used a pale kraft background for this layout, it makes the white paper paste snow flakes really pop. I added a few splashes of white acrylic paint on top too.

My photo was layered on top of distressed patterned papers, gauze/cheese cloth and a white doily to add lots of texture.


I added the Tree Ribbon to the bottom of my page along with distressed paper and ruffled Seam Binding and added a little piece to the top of my photo with a snowflake on top.


A few gems, snowflakes and little trees framed my photo cluster nicely.


A splash of Turquoise Color Shine and my layout was done.


You can check out the process video here.

Thanks for joining me, have a Happy Crafty Day :)